mirror of
https://github.com/verdaccio/verdaccio.git
synced 2025-01-13 22:48:31 -05:00
127 lines
4.7 KiB
Markdown
127 lines
4.7 KiB
Markdown
---
|
||
author: Juan Picado
|
||
authorURL: https://twitter.com/jotadeveloper
|
||
authorFBID: 1122901551
|
||
title: Setting up Verdaccio on DigitalOcean
|
||
---
|
||
|
||
This one of the multiple articles I will write about running Verdaccio on multiple platforms.
|
||
|
||
This time for simplicity I’ve chosen [DigitalOcean](https://www.digitalocean.com/) that provides affordable base prices and if you want to run your own registry, it’s a good option.
|
||
|
||
<!--truncate-->
|
||
|
||
### Create a Droplet {#create-a-droplet}
|
||
|
||
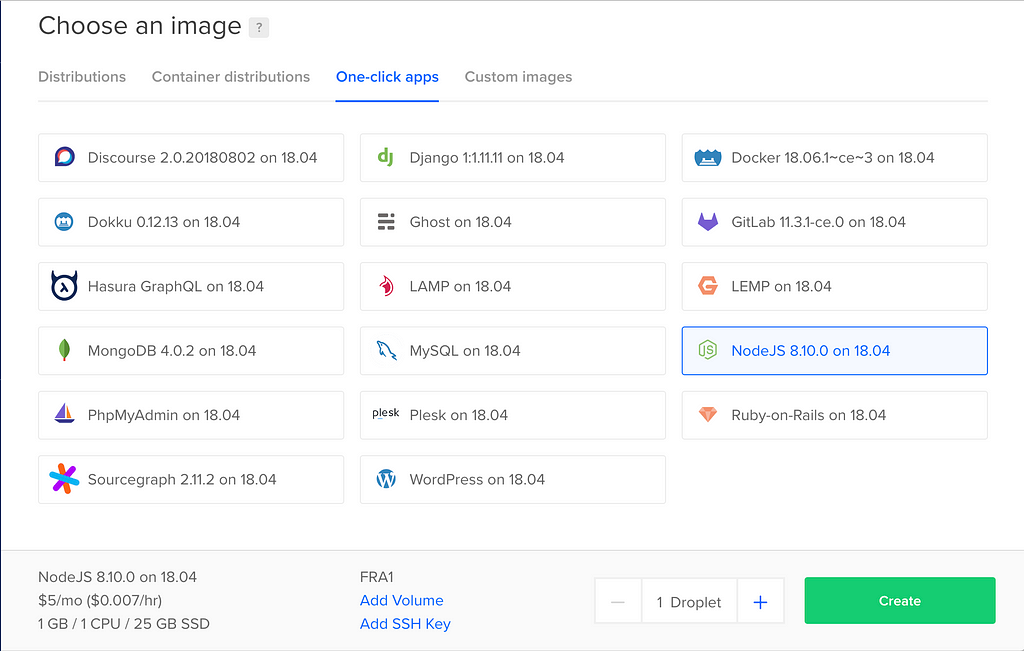
<figcaption>Choosing an image before creating a droplet</figcaption>
|
||
|
||
Create a droplet is fairly easy, it just matters to choose an image and click on create, **I personally selected a Node.js 8.10.0 version** to simplify the setup.
|
||
|
||
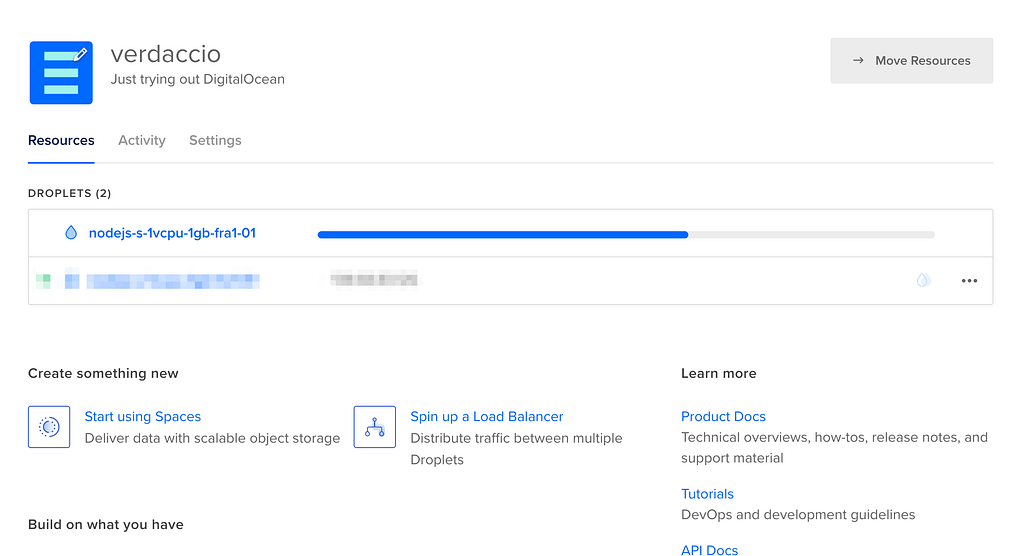
<figcaption>A view of the droplet panel</figcaption>
|
||
|
||
While the droplet is created, which takes a matter of seconds the next step is to find a way to log in via SSH, you can find credentials in your email. _Keep on mind the droplet provides root access and the next steps I won’t use sudo_.
|
||
|
||
### Installing Requirements {#installing-requirements}
|
||
|
||
As first step we have to install [Verdaccio](https://verdaccio.org/) with the following command.
|
||
|
||
```
|
||
npm install --global verdaccio
|
||
```
|
||
|
||
> We will use npm for simplicity, but I’d recommend using other tools as [pnpm](https://pnpm.js.org/) or [yarn](https://yarnpkg.com/en/).
|
||
|
||
We will handle the **verdaccio** process using the _pm2_ tool that provides handy tools for restarting and monitoring.
|
||
|
||
```
|
||
npm install -g pm2
|
||
```
|
||
|
||
#### Nginx Configuration {#nginx-configuration}
|
||
|
||
To handle the request we will set up _ngnix_ which is really easy to install. I won’t include in this article all steps to setup the web but you can [follow this article](https://www.digitalocean.com/community/tutorials/how-to-install-nginx-on-ubuntu-16-04).
|
||
|
||
Once _nginx_ is running in the port 80, we have to modify lightly the configuration file as follow
|
||
|
||
```
|
||
vi /etc/nginx/sites-available/default
|
||
|
||
location / {
|
||
proxy\_pass [http://127.0.0.1:4873/](http://127.0.0.1:4873/);
|
||
proxy\_set\_header Host $http\_host;
|
||
}
|
||
```
|
||
|
||
_You might pimp this configuration if you wish, but, for simplicity this is good enough for the purpose of this article._
|
||
|
||
Don’t forget restart _nginx_ in order the changes take affect.
|
||
|
||
```
|
||
systemctl restart nginx
|
||
```
|
||
|
||
Since we are using a proxy, we must update the default configuration provided by **verdaccio** to define our proxy pass domain. Edit the file and add the your domain or IP.
|
||
|
||
```
|
||
vi /root/verdaccio//config.yaml
|
||
|
||
http\_proxy: http://xxx.xxx.xxx.xxx/
|
||
```
|
||
|
||
### Running Verdaccio {#running-verdaccio}
|
||
|
||
Previously we installed pm2 and now is the moment to run _verdaccio_ with the following command.
|
||
|
||
```
|
||
pm2 start `which verdaccio`
|
||
```
|
||
|
||
_Note: notice we are using which due pm2 seems not to be able to run a node global command._
|
||
|
||
### Using Verdaccio {#using-verdaccio}
|
||
|
||
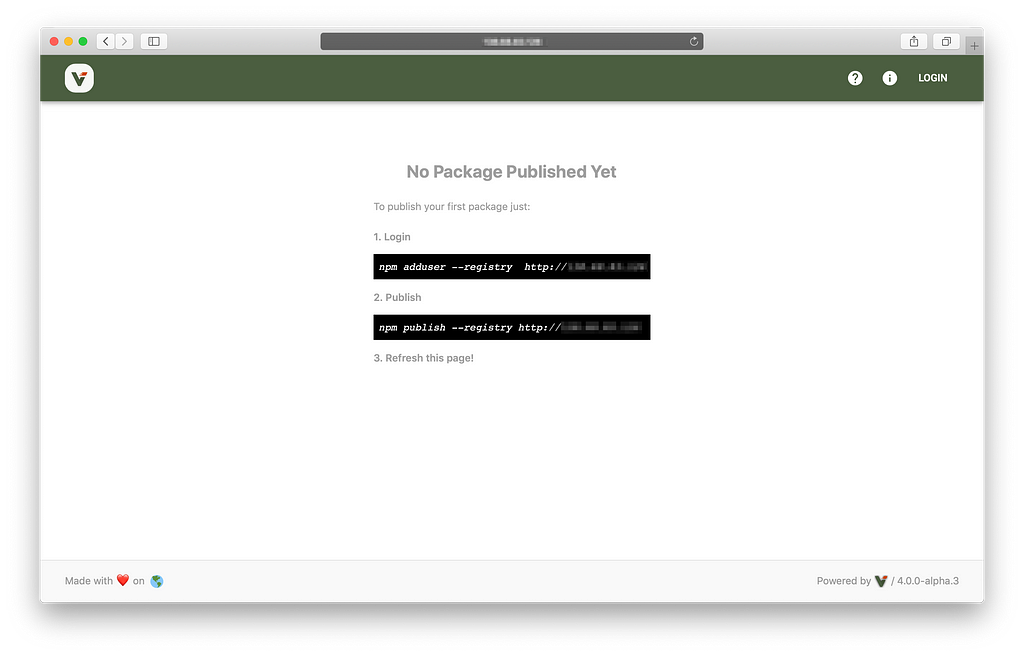
Verdaccio provides a nice UI to browse your packages you can access via URL, in our case get the IP from the DigitalOcean control panel and access _verdaccio_ like http://xxx.xxx.xxx.xxx/ .
|
||
|
||

|
||
|
||
#### Install packages {#install-packages}
|
||
|
||
npm will use the default registry on install, but we are willing to use our own registry, to achieve that use the --registry argument to provide a different location.
|
||
|
||
```
|
||
npm install --registry http://xxx.xxx.xxx.xxx
|
||
```
|
||
|
||
Other options I’d suggest if you need to switch between registries is using nrm, to install it just do
|
||
|
||
```
|
||
npm install --global nrm
|
||
nrm add company-registry [http://xxx.xxx.xxx:4873](http://xxx.xxx.xxx:4873/)
|
||
nrm use company-registry
|
||
```
|
||
|
||
With the steps above, you can switch back to other registries in an easy way, for more information just type nrm --help .
|
||
|
||
#### Publishing Packages {#publishing-packages}
|
||
|
||
By default verdaccio requires authentication for publishing, thus we need to log in.
|
||
|
||
```
|
||
npm adduser --registry http://xxx.xxx.xxx.xxx
|
||
```
|
||
|
||
Once you are logged, it’s the moment to publish.
|
||
|
||
```
|
||
npm publish --registry http://xxx.xxx.xxx.xxx
|
||
```
|
||
|
||
### Wrapping Up {#wrapping-up}
|
||
|
||
As you can see, **host a registry is quite cheap and the initial set up might take fairly short time if you have some skills with UNIX**.
|
||
|
||
> Verdaccio provides you good performance for a small middle team with the default plugins, you might scale for bigger teams if is need it, but I will write about those topics in future articles.
|
||
|
||
If you are willing to share your experience in our blog writing about **_verdaccio_** being installed on other platforms, just [send me a message over our chat at Discord](http://chat.verdaccio.org) for easy coordination.
|
||
|
||
---
|

